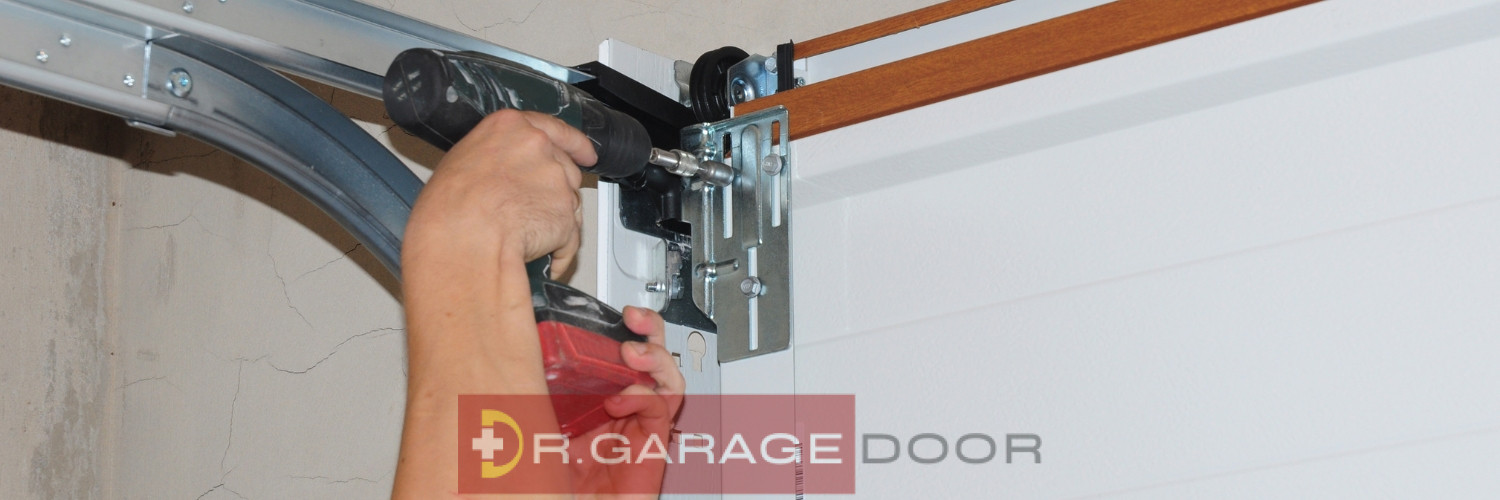
Your garage door is more than just a convenience – it’s a critical aspect of your home’s security and functionality. When problems arise, having the knowledge to troubleshoot and address issues on your own can be invaluable. This article serves as a comprehensive guide to DIY garage door repair, offering practical tips and tricks for common issues. Let’s dive into the details, empowering you to tackle these challenges with confidence.
Diagnosing Noisy Operations: Quieting the Clamor
Inspecting Rollers and Hinges:
1. Detailed Inspection:
Look for signs of wear, such as chipping or flattening on the rollers. Examine hinges for rust or visible damage.
2. Replacement Tips:
Invest in high-quality nylon rollers for smoother, quieter operation. Consider lubricating metal rollers periodically.
Tightening Nuts and Bolts:
1. Wrench Technique:
Use a socket wrench to systematically check and tighten all nuts and bolts along the door tracks and hardware.
2. Vibration-Dampening Solutions:
Consider using rubber washers or insulating materials to minimize vibration-induced noise.
Lubricating Moving Parts:
1. Choosing the Right Lubricant:
Opt for a silicone-based lubricant for moving parts, avoiding messy residue common with traditional oils.
2. Frequency of Lubrication:
Establish a routine, lubricating hinges, rollers, and springs every six months for optimal performance.
Addressing Slow or Uneven Movement: DIY Solutions
Examining Cables and Springs:
1. Frayed Cables:
If cables show signs of fraying, it’s crucial to replace them promptly to prevent further damage.
2. Balancing Act:
Adjusting the tension of springs should be done carefully; consult your garage door manual for specific instructions.
Adjusting Door Springs:
1. Safety Precautions:
Use caution when adjusting springs, and consider using winding bars for added safety.
2. Testing the Balance:
After adjustments, test the door by manually opening and closing it to ensure even movement.
Checking Track Alignment:
1. Visual Inspection:
Look for gaps between the rollers and the track, indicating misalignment.
2. Leveling the Tracks:
Use a level to ensure tracks are straight, making adjustments as needed for a smooth door movement.
Troubleshooting Garage Door Won’t Open or Close: DIY Quick Fixes
Inspecting Garage Door Opener:
1. Visual Examination:
Check for loose wires, damaged gears, or any visible issues in the garage door opener.
2. Manual Troubleshooting:
Follow the troubleshooting steps outlined in your opener’s manual for specific model-related issues.
Aligning Sensors:
1. Proper Alignment:
Ensure sensors are facing each other without obstruction, adjusting their alignment if necessary.
2. Cleaning Sensors:
Wipe sensors with a clean, dry cloth to remove dirt or debris that may interfere with their function.
Addressing Electrical Issues:
1. Power Source Check:
Verify the power source and ensure the garage door opener is plugged in securely.
2. Fuse Replacement:
If there’s a power outage, check for blown fuses or tripped circuit breakers in the electrical panel.
Conclusion:
Empowering yourself with the knowledge and skills to troubleshoot common garage door issues is not only cost-effective but also allows for a sense of accomplishment. This comprehensive DIY guide to garage door repair guide equips you with practical tips for tackling noisy operations, addressing slow or uneven movement, and troubleshooting issues preventing your garage door from opening or closing. Always prioritize safety, and if a repair seems beyond your capabilities, or if you’re unsure, seeking professional assistance is a wise decision. With this guide, you’ll be better prepared to keep your garage door operating smoothly and efficiently, enhancing the security and functionality of your home.
Learn more by visiting our Blog or give us a shout for a Free Estimate.
#garagedoor #garagedoorrepair #garagedoorrepairfl #drgaragedoor


